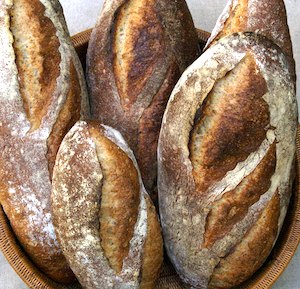
This video demonstrates my method for shaping a pointy batard. It assumes the dough has already been preshaped into a boule and rested for about 25 minutes.
(If you can’t see the video here, view it on YouTube.)
Notes from my kitchen, in which I bake bread and raise a few other matters

This video demonstrates my method for shaping a pointy batard. It assumes the dough has already been preshaped into a boule and rested for about 25 minutes.
(If you can’t see the video here, view it on YouTube.)
Before shaping a boule or batard loaf, dough is often preshaped into a boule (ball). This preshaping allows the final shape to achieve a tighter surface tension, which helps the loaf maintain its shape through proofing and baking, and helps cuts to open nicely during baking.
This video demonstrates my method for preshaping a boule.
(If you can’t see the video here, view it on YouTube.)

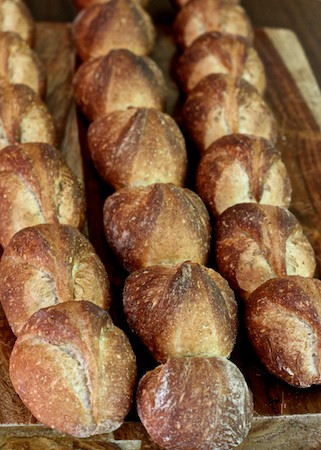
I posted these dragon tail baguettes a while ago, and here, as promised, is a video showing the shaping technique. I love it because it yields a connected string of easily-break-off-able, single-serving-sized rolls, without having to individually shape each one.
Note that the final shaping, which is shown here, is done on a fully proofed baguette just before it goes into the oven. The shaping of the original baguette is not shown here, but I’m planning to have a video of that soon, too. For a 50-cm (20-inch) baguette, eight or nine segments is about right.

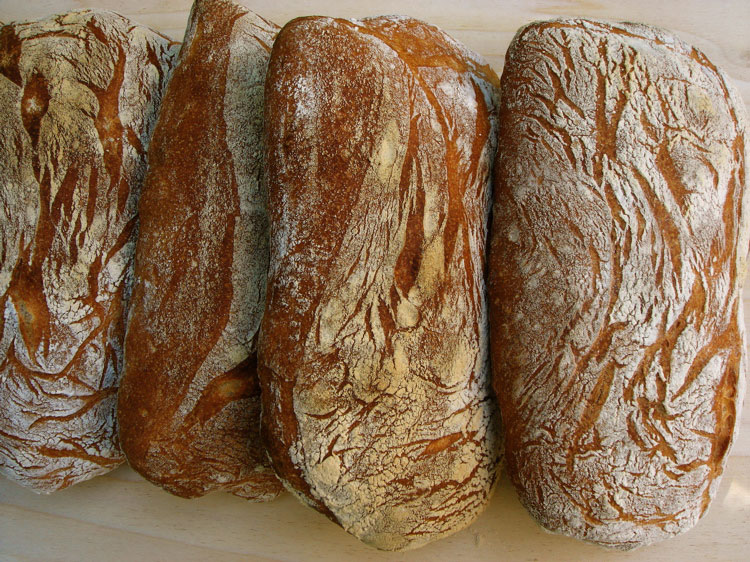
I have seen different methods for shaping ciabatta; the method I use is really more cutting than shaping.
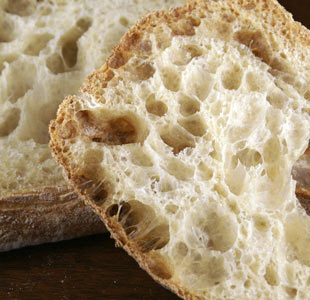
In contrast with most other doughs, which are assertively de-gassed during shaping, ciabatta wants to be handled very gently to maintain all those lovely bubbles that have developed during fermentation.
(If you can’t see the video here, view it on YouTube.)

Folding is a powerful technique for strengthening a dough. Wet doughs such as ciabatta can particularly benefit from folding, but can also be challenging to fold. The key is using plenty of flour on the counter (go ahead, make a mess!); excess flour should be brushed away so you don’t get streaks of unincorporated flour in your loaves.
(If you can’t see the video here, view it on YouTube.)
The folds of a couche (a piece of stiff linen) are ideal for cradling and supporting proofing baguettes and batards. But how do you transfer the proofed loaves onto a peel so you can get them into the oven?
Flipping board to the rescue. A flipping board is nothing more than a narrow piece of wood onto which the loaf is gently rolled off the couche, and from which the loaf is then either rolled or slid onto the peel.
In the video below, I use a 27 x 4-inch board to transfer baguettes onto a piece of parchment on my plywood board “peel.” (I will slide the parchment, loaded with three baguettes, onto the baking stone in the oven.)
These baguettes have been proofing seam-side-down in the couche, and I want them to wind up seam-side-down on the parchment. To do this, I lift the edge of the couche to roll the baguette onto the flipping board, so it’s now seam-side-up. Then I roll the baguette off the edge of the flipping board onto the parchment, so it’s seam-side-down again.
[qt:http://www.wildyeastblog.com/wp-content/uploads/2009/01/flipping.mov 480 360]
(If you can’t see the video here, view it on YouTube.)